Home and small office users alike depend on the famous HP Envy 7800 series printers for their stability and superb print quality. It is necessary to do regular upkeep, such as replacing printer cartridges on time, to guarantee that your prints stay colorful and sharp. If you want to maintain the quality of the paperwork and the ongoing printing of your work, you must know how to replace the HP Envy 7800 ink cartridges in your printing machine. To properly replace the ink cartridges in your HP Envy 7800 printer, refer to the detailed instructions given in this article.
Compile the Items that are Needed
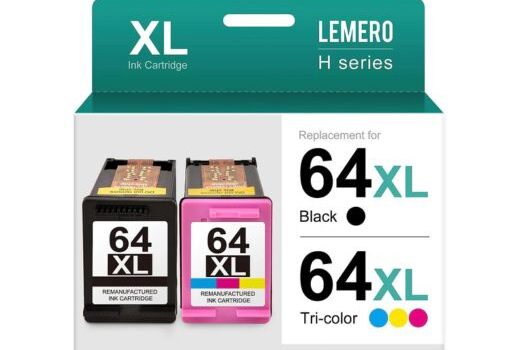
Make sure you have all the necessary materials on hand before starting the ink cartridge replacement procedure. Replacing the ink cartridges in your HP Envy 7800 printer is essential. Genuine HP ink cartridges are what HP suggests using for best results and print quality. In addition, prepare a few sheets of plain paper so that, once the cartridges are changed, the alignment procedure can be finished.
Turn the printer on
Turn on your HP Envy 7800 printer first. Before replacing the ink cartridge, wait for it to become idle. It’s imperative to refrain from interfering with any active print jobs or maintenance plans.
Slide the cartridge access door open
Find the printer’s cartridge access door on your HP Envy 7800. According to the model, this is usually found on the front or top of the printer. To open the access door, gently grip its handle or indentation and pull it towards you.
Hold off until the cartridge carrier moves
Wait for the cartridge carriage to travel to the printer’s center after opening the cartridge access door. When the door is opened, the carriage—which contains the ink cartridges—will automatically adjust its position to allow for convenient access.
Take out the old cartridges
The old ink cartridge can be removed from its slot by gently pressing down on its top after the cartridge carriage is in place. To take the cartridge out of the printer, carefully pull it in your direction. For any more cartridges that require substitution, follow these steps again.
Put in the new cartridges
Take the brand-new ink cartridges out of their package. With caution not to touch the ink nozzles or copper-colored contacts, remove the plastic film or protective tape from each cartridge. Place each cartridge in the cartridge carriage’s matching slot. The cartridge should snap into place after you apply firm pressure.
Shut the access door for cartridges
Once the replacement cartridges are in place, carefully press the cartridge access door back into place until it clicks shut firmly.
Cartridge Alignment: An Option
Upon replacing the ink cartridges, certain HP Envy 7800 printers may require you to align them. Aattach to the on-screen directions to finish the alignment process, if guided. In addition to preventing problems like streaks and smudges, this guarantees the highest print quality.
Examine the Print
To confirm that the printer is operating successfully and that the ink cartridges have been installed appropriately, print a test page. You can accomplish this by using the printer’s control panel or the printer settings on your PC.
Last Thoughts
Maintaining your HP Envy 7800 printer appropreatly and consistently delivering high-quality prints requires routine maintenance, which includes replacing HP Envy 7800 ink cartridges on time. You can replace the ink cartridges in your printer by following the detailed instructions in this guide. This will guarantee consistent print quality and dependable performance for all of your printing needs.


